How To Grow Alpine Strawberry From Seed
Variety: Alpine strawberry (Fragaria vesca)
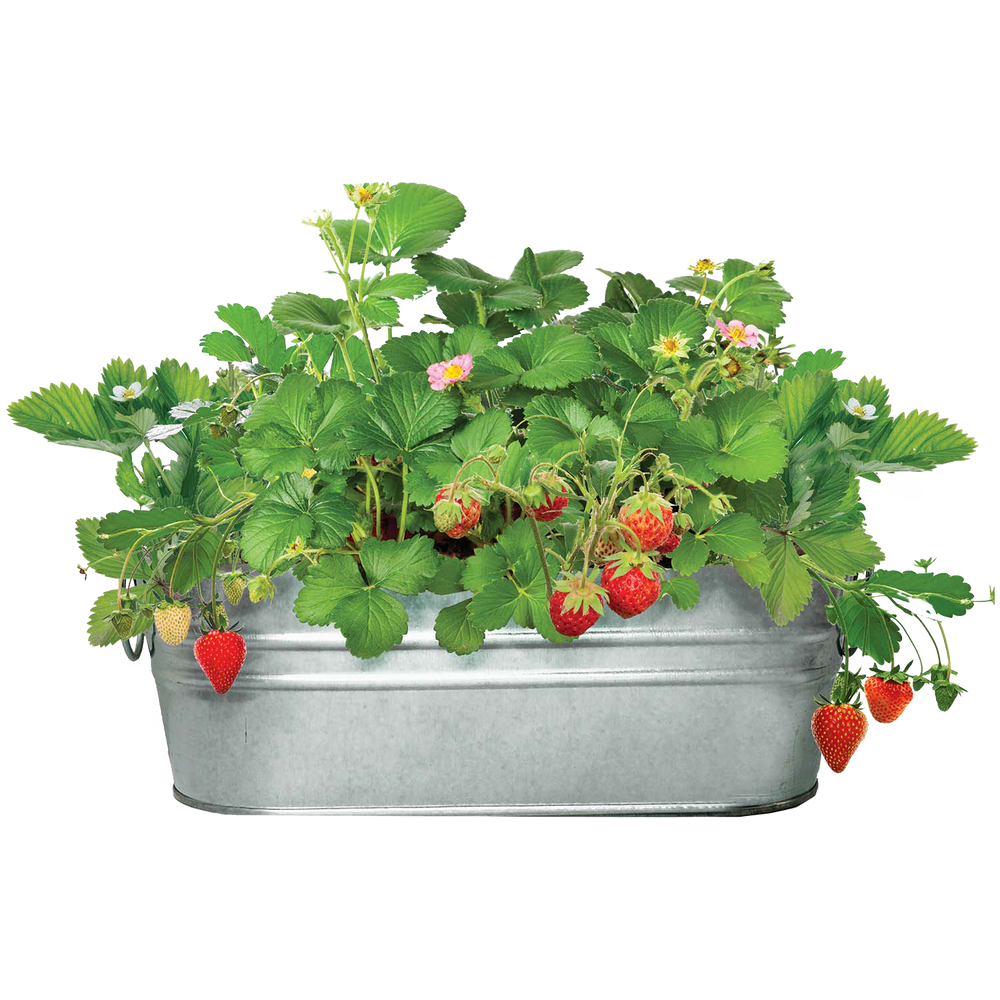
Did you know? Alpine strawberry, commonly called the woodland strawberry, is a perennial member of the rose family. They produce small, intensely flavorful fruit. They are considered a delicacy in France where they are prized for their unique flavor. Alpine strawberries are native to Europe and Asia and are naturalized in parts of North America. They bear fruit throughout the growing season during the months of June through October.
Buzz Words:
Sow; sowing: to plant seed for growth.
Sowing Instructions:
Note: Strawberry seeds are tiny - carefully open seed packet over a white paper plate or paper towel. Sow seeds directly onto the surface of the growing medium, gently press in, and do not cover – alpine strawberry seeds need light to germinate. Place in a warm, bright location with ample air circulation; keep growing medium moist but not overwatered. A spray bottle is recommended for watering, as strong water flow can wash away the tiny seeds.
Tip: Strawberry seeds germinate best in warm temperatures between 70° and 75°F.
Plant Care Instructions:
Patience is key! Alpine strawberry seeds will germinate in 4-6 weeks, and germination might not happen simultaneously. Once seedlings develop their second set of leaves, begin watering with balanced plant fertilizer mixed at half-strength. Alpine strawberries require 6 hours of full sun per day but can bear fruit when given a minimum of 4 hours of full sun per day. Grow in an area with less light if you live in a hot climate, as the roots are shallow and sensitive to intense heat. Water thoroughly when top layer of growing medium is dry to the touch. Do not allow to dry out completely. If started in early spring, plants should bear fruit beginning in late summer. They do not produce runners and can be propagated by division in early spring.
Grow with the flow! Air circulation is just as important as sunshine, water, and growing medium! Proper airflow helps plants develop stem and root systems all while keeping pests and fungal issues at bay.
No drainage? No problem. Easily add drainage by drilling a hole in the bottom-center of your planter. If the planter is plastic or metal, a standard ¼” drill bit will do the trick! If the planter is ceramic, you will need to use a masonry bit and water.


