Getting started is simple.
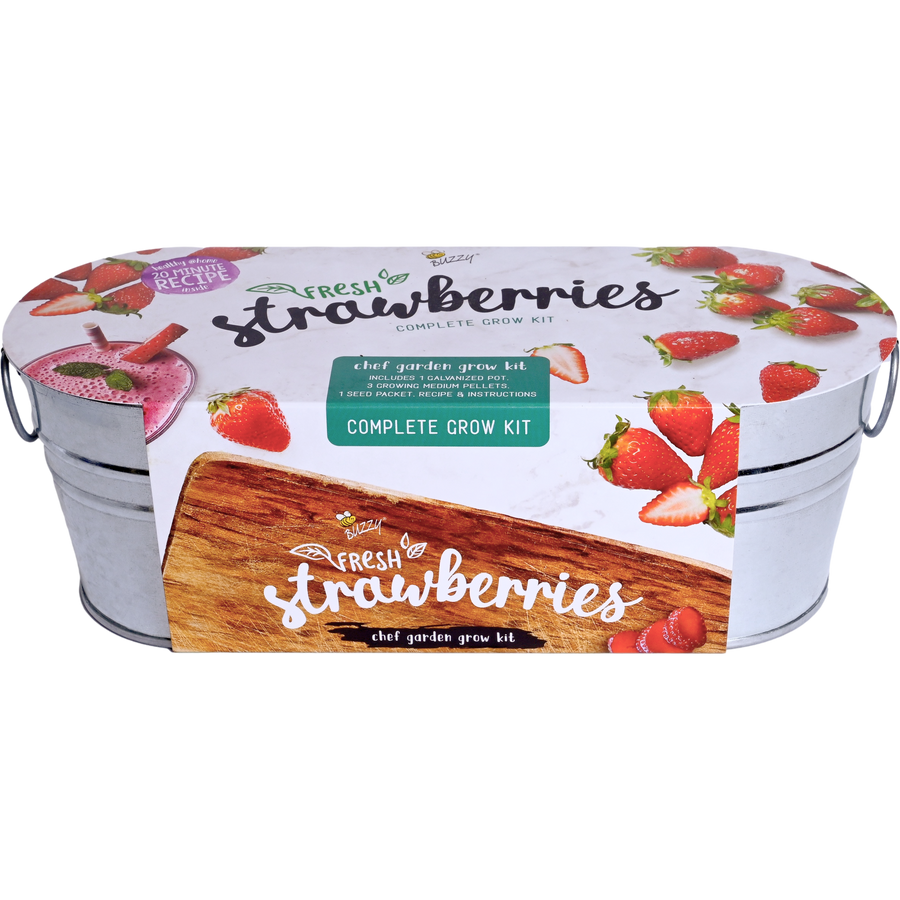
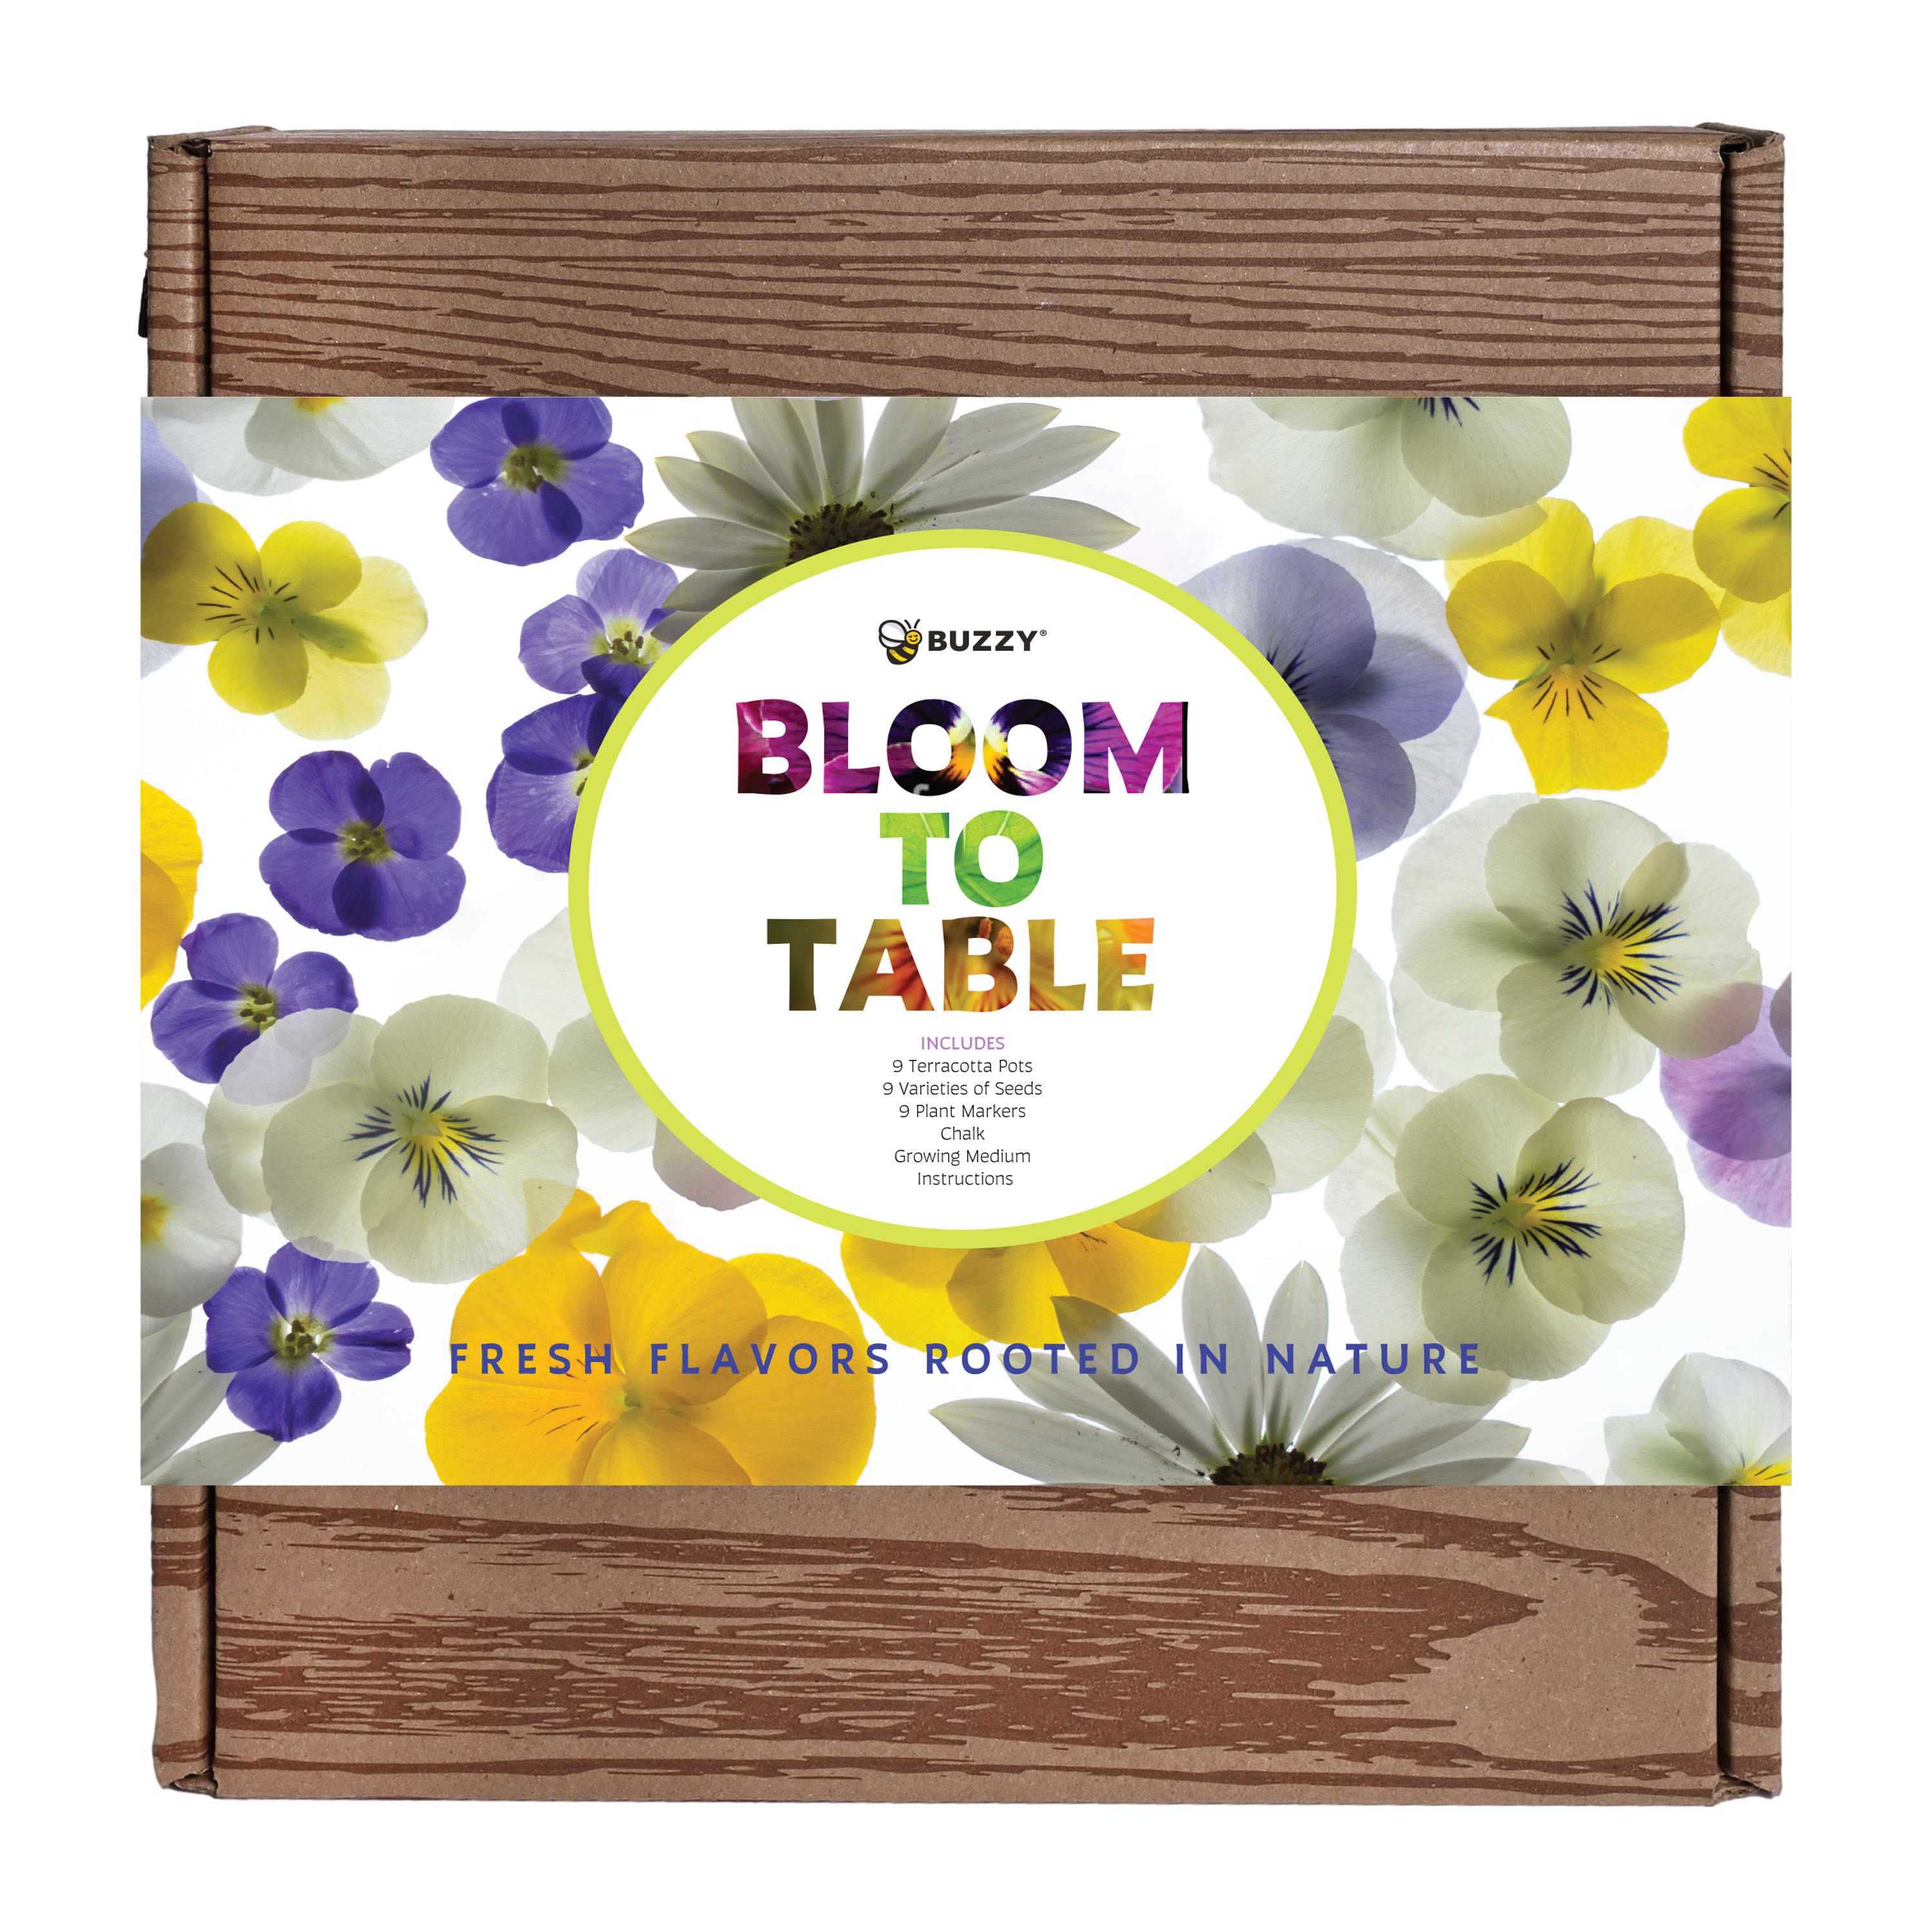
With a Buzzy Grow Kit, you have everything you need to get started. Whether you’re brand new to planting or already a plant pro, our kits make growing simple, enjoyable, and rewarding.
The kit is just the beginning. Inside you’ll find seeds, a pot, and our special growing medium, but we also give you easy step-by-step instructions, helpful articles, and friendly support whenever you need it.
Every seed has a story - we’re here to help yours grow.
Step 1: Hydrate Growing Medium
Place the growing medium in a separate bowl and add warm water. Watch the pellets expand as they absorb the water. Once fully hydrated, fluff gently with a fork to make it light and airy.
Step 2: Fill Pot With Growing Medium
Add the hydrated growing medium to your pot, leaving a little space at the top so your seeds have room to grow.
Step 3: Add Seeds
Plant your seeds gently into the growing medium at the recommended depth and lightly cover them. Find a bright, warm spot for your planter and keep the medium lightly moist without overwatering.
For detailed information on how deep to plant your seeds and how long they take to sprout, please refer to our Seed Planting Guide.
Next Steps
Once your seedlings grow their second set of leaves, feed them with a balanced plant fertilizer at half strength about once a month. Continue to give them plenty of light and just enough water to keep the medium evenly moist without overwatering. With consistent care, your plants will thrive and bring beauty and life to your space.
Common Questions
As a general rule, plant seeds about as deep as they are wide. For example, a small seed should be planted just beneath the surface, while larger seeds can go a bit deeper. Giving seeds a little space from each other -usually about one to two times the width of the seed - helps them sprout without crowding, ensuring each seedling has room to grow strong and healthy.
For specific planting depths and spacing, check your seed packaging or our Seed Planting Guide.
Germination times vary depending on the type of seed, the growing medium, and the conditions in your space. Some seeds sprout in just a few days, while others may take a couple of weeks.
For best results, keep your growing medium consistently moist, maintain a warm and well-lit environment, and avoid disturbing the seeds. For specific germination timelines for each variety, please refer to our Seed Planting Guide.
Seeds and seedlings need consistently moist (not soggy) growing medium to germinate and grow strong. Check the surface daily and lightly water whenever it starts to feel dry. Using a gentle spray or small watering can helps prevent disturbing seeds or young roots.
Be careful not to overwater, as too much moisture can lead to mold or root rot. Once seedlings develop their first true leaves, you can gradually water a bit more deeply, encouraging healthy root growth while still keeping the medium evenly moist.
Most seeds and seedlings need bright, indirect sunlight to grow strong and healthy. A sunny windowsill or a spot that gets several hours of morning or afternoon light works well. Avoid placing them in harsh, direct sunlight for long periods, as this can dry out the soil or stress young plants. If natural light is limited, a grow light can help provide consistent brightness and keep seedlings thriving.
Keep in mind that proper air circulation and consistent moisture, along with light, will help your plants grow evenly and reduce the risk of mold or weak stems.
Most seeds prefer a warm environment to germinate and grow their strongest roots. Keeping your growing area between 65°F and 75°F provides a comfortable range for many common seeds, including herbs, flowers, and vegetables.
Avoid placing your seeds in drafty spots or near cold windows, as sudden temperature drops can slow germination or cause uneven growth. Consistent warmth helps seeds sprout faster and gives seedlings a strong start.
Yes, feeding your seedlings helps them grow strong and healthy once they’ve developed their first true leaves. Use a balanced, water-soluble fertilizer at about half the recommended strength to avoid overwhelming young plants.
Apply the fertilizer once a month, and always follow the instructions on your fertilizer package. Healthy seedlings that are gently nourished will develop into more resilient, vibrant plants.
Thinning seedlings is an important step to give your plants room to grow strong and healthy. You’ll want to thin them once your seedlings have developed their first set of “true leaves” (the second set of leaves after the initial seed leaves). At this stage, the seedlings are sturdy enough to handle a little pruning.
To thin, gently snip or pinch the smaller or weaker seedlings at the soil level, leaving the strongest plant in each cluster. Avoid pulling them out by the roots, which can disturb neighboring seedlings. Thinning ensures each plant has enough space, nutrients, and light to thrive, leading to healthier, more productive growth.
Start by gently loosening the growing medium around the roots so you don’t damage them. Carefully lift the seedling from its original planter, supporting both the roots and stem.
Place it into a larger pot or garden hole with fresh soil or growing medium, making sure the roots are fully covered and the plant is upright. Water thoroughly after transplanting to help the plant settle in. If moving outdoors, gradually acclimate the seedling to sunlight and outdoor conditions over several days to avoid shock.
Hardening off is the process of gradually acclimating your indoor seedlings to outdoor conditions before transplanting them into your garden or a larger outdoor container. This step helps prevent transplant shock from sudden changes in sunlight, temperature, wind, and humidity.
To harden off your seedlings, start by placing them outdoors in a shaded, protected spot for a few hours each day. Gradually increase their exposure to sunlight and outdoor conditions over the course of 7–10 days. By the end of the period, your seedlings should be ready to thrive in their new outdoor home, strong, resilient, and ready for full sun and natural weather.
Ideal Seed Starting Setup
Starting seeds at home doesn’t require fancy equipment. All you need is a sunny windowsill or any spot that gets plenty of natural light. South or west-facing windows usually work best, giving your seeds the bright, indirect sunlight they need to grow strong.
Temperature matters too. Most seeds prefer a steady, warm environment, around 65–75°F, so pick a cozy indoor spot away from cold drafts or heating vents. If you want to give your seeds a little boost, a heat mat can help maintain consistent warmth, but it isn’t required.
Moisture is key. Keep your growing medium evenly damp, not soggy, so seeds can germinate without risk of rot. Mist or gently water as needed, checking daily to make sure it doesn’t dry out.
Air circulation is just as important as light and water. A gentle flow of air helps prevent mold or fungal growth and strengthens your seedlings as they grow. A small fan on low nearby or just opening a window for a few minutes each day is enough.
Optional extras like a grow light can help if natural sunlight is limited, but a bright, warm spot with consistent moisture and airflow is all you really need to start your seeds successfully.


