






Grow Kits, Explained: What's in the Box and What Happens Week by Week
Shake a grow kit and you hear three things rattle. A pot. A dry brown disc that looks like a hockey puck. A paper packet with almost nothing in it.
Grow kits are deliberately simple, and every piece in that box is doing a job. Here is what each one does, and what actually happens on your windowsill from the day you water it.

What is actually in a grow kit?
Three things, and a bit of paper.
The pot. Terracotta, ceramic, tin or paper cup, depending on the kit.
The disc. That is dried, compressed soil. Most kits use coconut coir or peat. Add water and it swells to many times its size. Oklahoma State Extension describes coir as shredded coconut husk that holds water well while still letting air reach the roots.
The seeds. Usually a small number, because you only need a few.
The instructions. Worth two minutes of your time, because they carry the two numbers that decide everything: how deep to sow, and how long to wait.
Why is there no plant food in the pellet?
Because food is the wrong thing to give a seed.
Seed starting soil is deliberately clean and almost nutrient free. University of Minnesota Extension calls these mixes sterile, lightweight and free of weed seeds. RHS is direct about the reason for the low nutrients: high levels could damage seedlings.
There is a disease reason too. Clemson Extension notes that these clean, soil-free mixes cut down on the rots that kill seedlings, damping off among them.
Scooping soil from the yard is the tempting swap. Virginia Tech Extension says not to use it on its own, because it is not clean, it is too heavy, and it does not drain.

My kit pot has no drainage hole. Now what?
Fair question, and it comes up constantly.
The guidance is firm. Iowa State Extension says containers need a drainage hole, because without one the soil stays wet and roots rot. University of Illinois Extension calls the hole critical, since draining water lets air back to the roots.
It also puts an old trick to bed. A layer of gravel in the bottom does not help, since water stops at the soil above it and stays there.
Three ways to handle it, cheapest first.
- Water less, in smaller amounts. Add only what the soil can soak up, and tip out anything that pools. University of Maryland Extension says a tray with no holes is workable as long as you are careful not to overwater.
- Double pot it. Sit a plain pot with a hole inside the pretty one, which is what Iowa State suggests.
- Drill one. A hole in the bottom center, which is what our own kit instructions tell you to do.
What are true leaves, and why do they matter?
The first leaves up are not really leaves. They are the seed's packed lunch.
Colorado State Extension explains it well. Those first two are called seed leaves, and they feed the seedling right after it sprouts while it builds real ones. Penn State Extension adds the key difference. True leaves turn light into food. Seed leaves cannot do that job.
So the moment true leaves appear, two things change. The plant can feed itself from light, and it has used up what came in the seed.
That is your cue to start feeding. Clemson recommends feeding when the first true leaves appear, at diluted strength. Minnesota suggests a quarter strength general purpose feed once a week. Our kit instructions say half strength once the second set of leaves is out. All three land in the same place, which is weak and regular rather than strong and occasional.
One handling tip from Clemson. Pick a seedling up by those first two leaves, never by the stem, which bruises easily.
Why do some seeds sprout in a week and others take six?
Two reasons. Warmth and species.
Warmth first, because the numbers are startling. Oregon State Extension publishes a germination table credited to J. F. Harrington at UC Davis. It shows how many days seeds take to break the surface at nine different soil temperatures.
| Seed | At 50 degrees | At 68 degrees | At 77 degrees | At 95 degrees |
|---|---|---|---|---|
| Tomato | 43 days | 8 days | 6 days | 9 days |
| Lettuce | 7 days | 3 days | 2 days | Little or none |
| Pepper | Little or none | 12 days | 8 days | 9 days |
| Radish | 11 days | 4 days | 3 days | Not tested |
A tomato seed takes 43 days at 50 degrees and six days at 77. Same seed. Seven times the wait, from warmth alone.
Too warm also fails. Look at the lettuce row. Two days at 77 degrees, and almost nothing at 95.
University of Illinois Extension gives beginners one number to aim at: most seeds germinate best when the soil is around 70 to 75 degrees. That is a normal warm room, and it is why the instructions ask for warm as well as bright. The table's fastest column runs hotter than that. Fastest and best are different things, and a warm kitchen is easier to hit than a heat mat.
The second reason is the species itself. Penn State Extension explains that many seeds have a built in sleep period that holds them back even when conditions look fine. It is a survival trick. A slow seed is still alive.
How long do grow kits take to sprout?
Very different amounts of time, even across kits that look almost identical in the box. These are our own printed figures.
| Kit | Seed | Sow | Up in |
|---|---|---|---|
| Culinary Herb | Basil | 1/4 inch | 7 to 14 days |
| Culinary Herb | Cilantro | 1/4 inch | 14 to 21 days |
| Sunflower 12 pack | Dwarf sunflower | 1/2 inch | 7 to 14 days |
| Pollinator trio | Coneflower | 1/4 inch | 14 to 21 days |
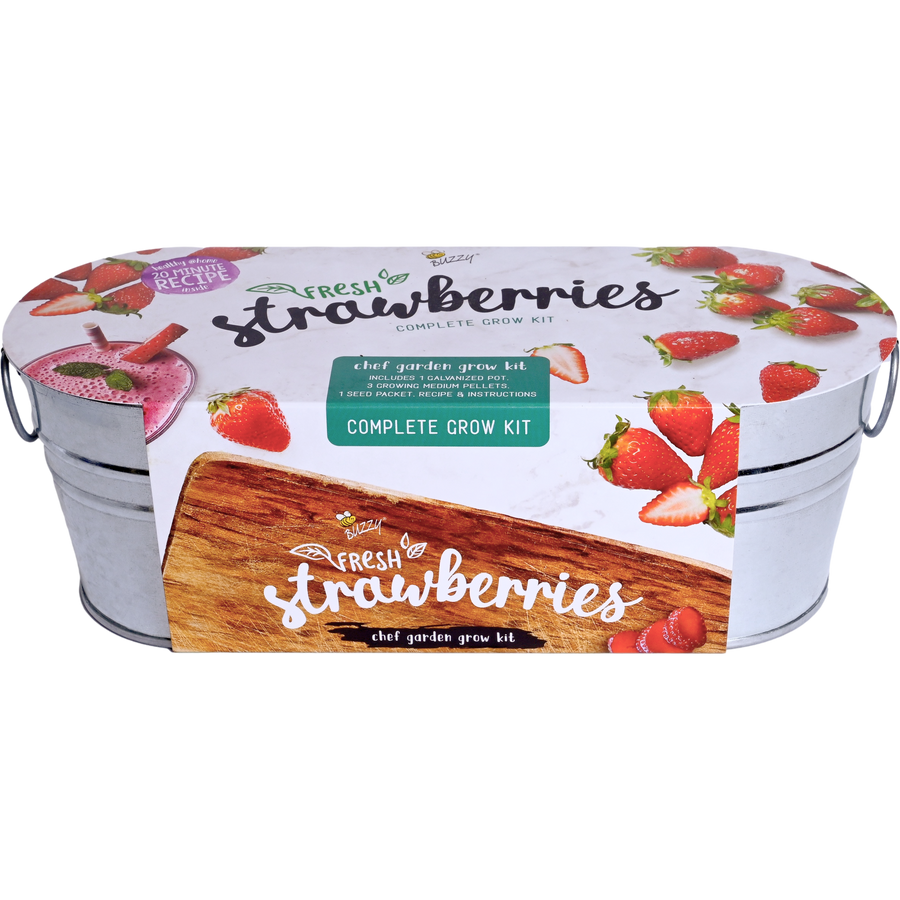
| Strawberry windowsill | Alpine strawberry | Surface, uncovered | 4 to 6 weeks |
One week at the fast end, six weeks at the slow end. Check your own packet before you start worrying about either.
Why do some seeds have to stay uncovered?
Because some seeds need light to wake up.
Iowa State Extension states the rule cleanly. Some species need light to germinate and others need darkness. Light needers get pressed into the surface and left uncovered. Dark needers get a quarter to half inch of cover.
Lettuce is the classic light needer. So is chamomile, which Wisconsin Extension says to surface sow. Our strawberry kit instructions say the same for strawberry seed, and so do our lavender and chamomile kits.
For everything else the rule of thumb is simple. University of Minnesota Extension says plant a seed about twice as deep as its width. NC State Extension says two to four times the seed's width.
Too deep is a real cause of a pot that never comes up. University of Illinois Extension lists sowing depth among the usual reasons seeds fail.

What happens in the first six weeks?
| When | What you will see |
|---|---|
| Day 1 | The pellet swells, you fluff it with a fork, and the seeds go in. |
| Days 1 to 6 | Nothing above the soil. Keep it damp and warm. |
| Days 7 to 21 | Fast seeds break the surface. Basil, sunflower and marigold live here. |
| Weeks 3 to 6 | Slow seeds arrive. Strawberry and lavender live here. |
| At true leaves | Start feeding. Snip out the extra seedlings and leave the strongest one. |
| At 2 to 3 inches | Time for a bigger pot, if your kit says to move up. |
An empty pot in week one is normal for the slower seeds, and it is the single most common reason people give up. If your packet says 14 to 21 days, nothing is wrong on day six. The seed is busy.
Can you plant two seeds in the same pot?
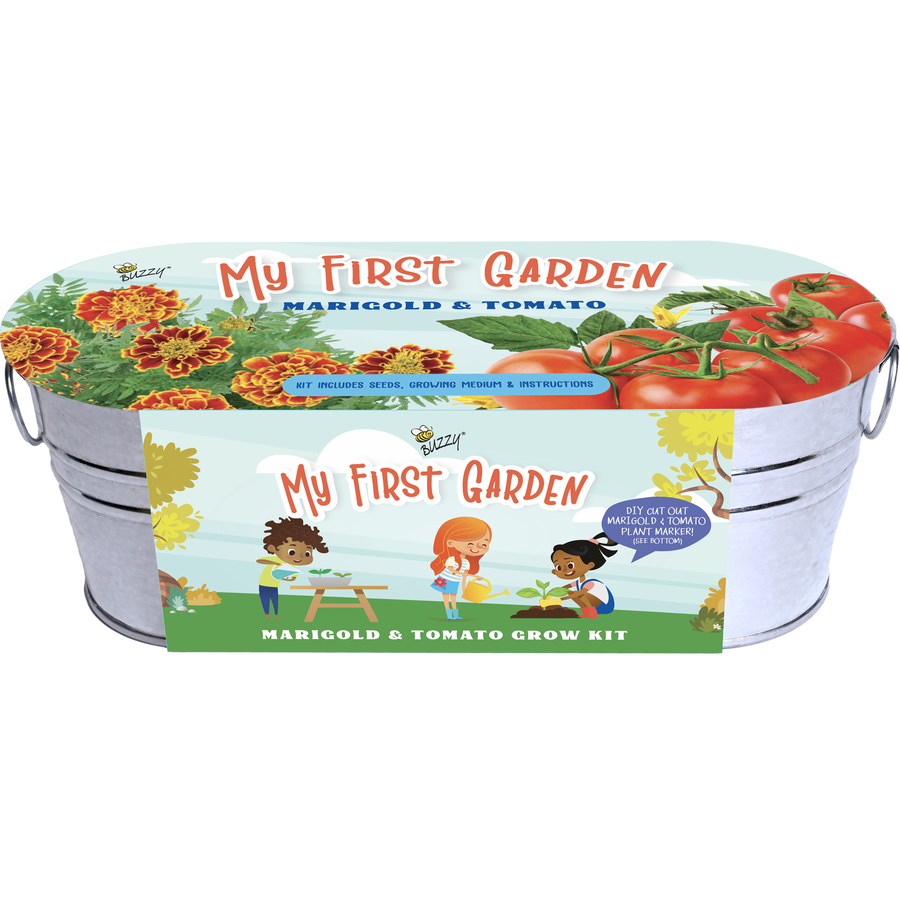
Sometimes, and the packet numbers tell you when. Look at our Kids My First Garden kit, which pairs tomato and marigold.
Tomato: quarter inch deep, 70 degrees, 7 to 14 days, as much direct sun as you can give it. Marigold: quarter inch deep, 70 degrees, 7 to 14 days, same light.
Identical, on every line. That is what makes a shared pot work. Both seeds want the same depth and the same warmth. They come up together, so neither one sits in the other's shadow while it waits.
When two seeds in a kit do not match, the instructions tell you to sow each variety in its own section. That way the slow one gets its own corner and you can see it is simply late.

Why did only some of my seeds come up?
Because no seed packet anywhere is 100 percent.
Iowa State Extension gives useful benchmarks. Ninety percent or more is very good for most species. Seventy to eighty percent is perfectly acceptable.
Iowa State also describes a test you can run at home. Roll twenty seeds in a damp paper towel and bag it. Keep it somewhere warm, around 70 to 80 degrees. Count what sprouts over the following week.
Age matters too. Illinois Extension notes that some seeds stay good for a year while others last four or five.
Two things to keep an eye on
Water. Wisconsin Extension is direct about this. Do not overwater, because the organisms behind damping off get busy in wet soil. Damping off is a rot that collapses a seedling right at soil level. Penn State's prevention list is short and cheap: clean soil, a clean pot, room between seedlings, and air moving in the room.
Light. University of Illinois Extension calls too little light the most common cause of stretched, floppy seedlings. Minnesota is specific about sills, noting that windowsill seedlings tend to run tall with thin, bent stems. The plant is reaching for light it cannot find.
Winter makes that harder. Virginia Tech Extension figures show a December day delivering a fraction of the light a July day does. Window glass takes more off the top again.
Here is the good news, and it costs nothing. A short, stocky seedling is completely achievable indoors, and two habits get you most of the way there.
- Put the pot in your brightest window and push it right up to the glass. South or west is best. East works. If north is all you have, that is the one case where a cheap clip-on light earns its money.
- Turn the pot a quarter turn every few days, so the stem grows up instead of sideways.
Our kits also come with a Guaranteed to Grow promise. If your seeds do not come up, we replace the seed packet for free, and you can start again with what you have learned.

Where to start
| If you want | Start here |
|---|---|
| Something to cook with | Organic Culinary Herb Grow Kit |
| Fast results with a kid | Kids My First Garden |
| Almost no maintenance | Cactus Grow Kit, 4 pack |
| Twelve small gifts | Sunflower Grow Kits, 12 pack |
| Flowers for bees | Pollinator flower kits |
A pot, a warm bright window and a fork will get you a seedling. No yard required.
The first sprout is the win.
Keep reading
How to Grow Basil from Seed (Step-by-Step for Beginners) · How To Grow Strawberry From Seed Indoors · Tomato Companion Plants: What Actually Works · What Is Damping Off?
Sources
- Buzzy Seeds kit instructions and spec sheets: Organic Culinary Herb, Kids My First Garden, Strawberry Windowsill, Sunflower 12 pack, Pollinator trio
- Oregon State University Extension, Soil temperature conditions for vegetable seed germination (days to emergence at nine soil temperatures, tables credited to J. F. Harrington, UC Davis)
- University of Minnesota Extension, Starting seeds indoors (sterile soil-free mixes, depth twice the seed width, quarter strength feed, windowsill seedlings run tall and thin)
- Clemson Cooperative Extension, Starting Seeds Indoors (clean soil-free mixes reduce damping off, feed at first true leaves, handle by the seed leaves)
- Penn State Extension, Seed and Seedling Biology (true leaves turn light into food, built in sleep period, light and dark germinators)
- Penn State Extension, Safeguard Your Seedlings from Damping Off (spacing and air circulation, clean medium and containers, avoid overwatering)
- University of Wisconsin Extension, Damping Off (do not overwater, do not sow too deeply)
- Colorado State University Extension, Seed and Seed Germination (seed leaves feed the seedling while true leaves form)
- Iowa State University Extension, Germination Requirements (light and dark germinators, cover depth a quarter to half inch)
- Iowa State University Extension, How to Store Seeds and Test Germination Rates (90 percent very good, 70 to 80 acceptable, twenty seed paper towel test at 70 to 80 degrees)
- Iowa State University Extension, How to Select Quality Plant Containers (containers need a drainage hole, gravel does not help, double potting)
- University of Illinois Extension, Container Drainage Options (the hole is critical, water sits above gravel rather than draining)
- University of Illinois Extension, Troubleshooting seed starting problems (around 70 to 75 degrees for most seeds, too little light the most common cause of stretched seedlings, depth and seed age as failure causes)
- University of Maryland Extension, Containers and Potting Soil for Indoor Seed Starting (a tray without holes works if you are careful not to overwater, minimum 2 inch depth)
- Oklahoma State University Extension, Soilless Growing Mediums (coir is shredded coconut husk, holds water and keeps air at the roots)
- Virginia Tech Extension, Plant Propagation from Seed (do not use garden soil alone, south facing window, thinning crowded seedlings)
- Virginia Tech Extension, Daily Light Integral (December daylight against July, and what a seedling needs)
- NC State Extension Gardener Handbook, Propagation (depth two to four times the seed width, seed leaves, germination percentage)
- Royal Horticultural Society, How to sow seeds indoors (seed compost has low nutrients on purpose, moist but not saturated)
- University of Wisconsin Extension, German Chamomile (needs light to germinate, surface sow)